Sally K. Norton

Vitality Coach, Speaker & Health Consultant

  • Home
  • About
    • Interviews, Talks, Media and More
  • Symptoms
  • Relief
    • Nourishment
    • Results
  • Science
    • Oxalate Basics
  • Books
    • Data Companion
    • The Essential Low-Oxalate Cookbook
  • Support
    • Upcoming Events
    • Support Groups
    • Shop / Downloads
    • Sign-up for News and Updates
    • Speaking and Presentations
  • Recipes
    • Fundamentals
    • Sauces and Condiments
    • Beverages
    • Finger Foods
    • Soups
    • Salads
    • Side Dishes
    • Meats and Seafood
    • Treats
  • Blog
    • Table of Contents
  • Contact

November 3, 2015 by Sally K Norton

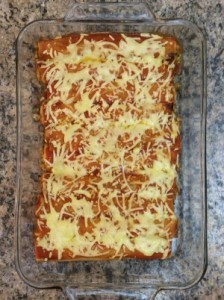
Chicken Enchiladas

These enchiladas are a good way to enjoy chicken meat left over from broth preparation. It makes use of Paleo Wraps, a delicious (but expensive) coconut “tortilla”.

Chicken Enchiladas

  • Servings: 10
  • Time: 30 minutes
  • Difficulty: Easy
  • Print

Ingredients

2 Tbsp ghee
1 medium onion, diced into ¼ inch
½ C cooked lentils
½ C cooked squash (or more, if desired)
½ C hot sauce
1 whole roasted red pepper, diced
2 tsp black cumin seeds (nigella sativa optional)
8 ounces grated cheese, divided into two parts for the inside and top of the enchiladas
1 pound cooked chicken, chopped or shredded
10 wraps (coconut Paleo Wraps work well)
⅓ to ½ C additional hot sauce for the top
Salt to taste

Instructions

  1. Preheat over to 350°
  2. Saute the onions in the ghee until soft
  3. Mix all remaining ingredients except the wraps, 4 ounces of cheese and the final hot sauce in the saucepan used to saute the onions.
  4. Roll ½ C stuffing into each of the 10 wraps, roll tightly so the filling goes all the way to the ends (very important for Paleo Wraps, which will burn otherwise) and line them up closely in a 9×13 baking dish
  5. Drizzle the second batch of hot sauce over the top and sprinkle on the remaining 4 ounces grated cheese
  6. Bake until hot and cheese is melted, about  15-20 minutes.  Watch closely to avoid burning the wraps

October 19, 2015 by Sally K Norton

Creamy Fruit Gummies

Commercial gummies are bright colors, these are not, because of the cream and pale fruits.  This is a fruit concentrate food; it is NOT low sugar or low carb.  Gelatin and cream lower the glycemic effect, but always be mindful of portions when treating yourself to sweets. You can make this in two stages, making the cooked fruit puree in advance. Makes 2.5 cups = 20 servings.

Creamy Fruit Gummies

  • Servings: 20 (2.5 cups)
  • Time: 2 hours (1½ - 2 hours for making the cooked fruit purée
  • Difficulty: easy
  • Print

Ingredients

3 cups mango or pineapple chunks (or combination), to make 1 cup fruit purée (see instructions)
⅓ C lemon juice (use lime juice if using pineapple)
1 Tbsp. raw honey
4 drops stevia or 2 Tbsp. dextrose
½ C unflavored gelatin (Great Lakes Unflavored Gelatin is from grassfed cows)
1 C heavy cream or coconut milk

Instructions

To make the fruit purée, cook 3 cups fruit in a sauce pan over low heat, stirring frequently, until reduced by half (the cooking will take at least an hour).  Run fruit through a food mill. Yields 1 cup purée.  You can make the purée ahead of time and refrigerate it.

Combine all ingredients except gelatin and heavy cream in a saucepan over medium heat.

Heat until warmed through, but not hot. Add gelatin and use a whisk or an immersion blender to thoroughly combine fruit and gelatin.

Remove from heat, and add the heavy cream.

Pour mixture into silicone candy molds or an 8×8-inch glass baking dish. Cover tightly and freeze 15-20 minutes on a level surface in the freezer, until the gelatin is set but not frozen.

Remove pan or molds from freezer and push the gummies out of the molds.  If using a baking dish, use a spatula to gently loosen the edges and part of the bottom of the gelatin from the sides of the dish. Gently turn it upside down onto a cutting board and let the gelatin fall out. Use a large knife to cut it into squares or strips. Refrigerate any leftovers in a covered glass container.

September 21, 2015 by Sally K Norton

Bubbly Bitters Cocktail

Recipe for a very simple refreshing “cocktail”. The good life could not be simpler.

Bubbly Bitters Cocktail

  • Servings: 1
  • Time: 2 minutes
  • Difficulty: Easy
  • Print

Ingredients

10 oz. chilled Sparkling Mineral Water bottled in glass
1/2 tsp. Aromatic Bitters, such as angostura (to taste)

Instructions

Pour sparkling water into a chilled stemmed glass, add bitters, and enjoy.

September 14, 2015 by Sally K Norton

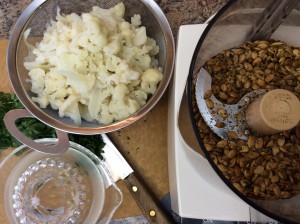
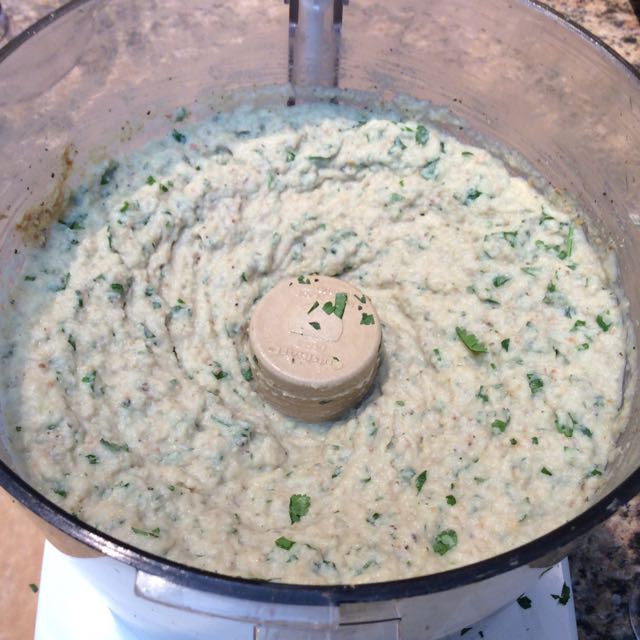
Cauliflower Hummus

Serve as a tasty dip or spread, or as a side dish similar to mashed potatoes. You can use boiled, steamed, or roasted/baked cauliflower. Use fresh if you can, or frozen if you must. If you like garlicky hummus, add garlic. The cayenne goes a long way i this dish, taste before adding more. The weight of the cauliflower is given so you can scale the recipe to fit the size of the cauliflower you have at hand.

Cauliflower Hummus

  • Servings: 8-10 as appetizer, 5 as side
  • Time: 20 minutes (prep); 50 minutes (total)
  • Difficulty: Easy
  • Print

Ingredients

1 small head organic cauliflower, chopped into evenly sized pieces (1.75 lbs. purchased weight or 1.25 lbs. trimmed portion) or 20 oz. frozen cauliflower
2/3 Cup unsalted pumpkin seeds (3.8 oz)
2 T coconut oil, ghee or butter, melted (opt.)
3 T olive oil
3 T lemon juice
1 tsp. mineral salt (if seeds are unsalted)
1/8 tsp. cayenne pepper or a rounded ¼ tsp. white pepper
½ Cup (tightly packed) coarsely chopped cilantro leaves

Instructions

  1. Lightly roast pumpkin seeds in the oven for 3 to 6 minutes at 375°, watching closely and removing at the first sign of color.  Allow to cool.  A toaster oven works for this step, but you should reduce the heat and watch even more closely.
  2. Cook the cauliflower until very soft, either by boiling, steaming or baking. If using bake method to cook the cauliflower, increase oven temperature to 400°F. Toss the chopped cauliflower with melted oil/ ghee and bake covered in a casserole dish or a oven-safe large stockpot for 35 – 40 minutes, or until tender. Stir the cauliflower 3 times during baking; remove the lid for the last 10 minutes of the baking.
  3. Grind cooled pumpkin seeds in the food processor until they become a very fine meal.
  4. Add the cooked cauliflower, olive oil, lemon juice, salt and pepper. Process until you have a smooth paste.
  5. Add the chopped cilantro and process briefly to incorporate and chop the cilantro into smaller bits. Taste and adjust the seasonings.

The hummus will keep in the refrigerator for four days.IMG_4843

September 13, 2015 by Sally K Norton

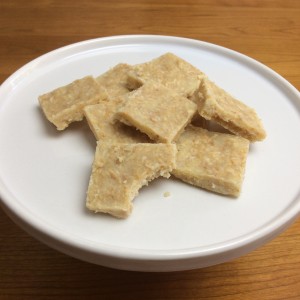
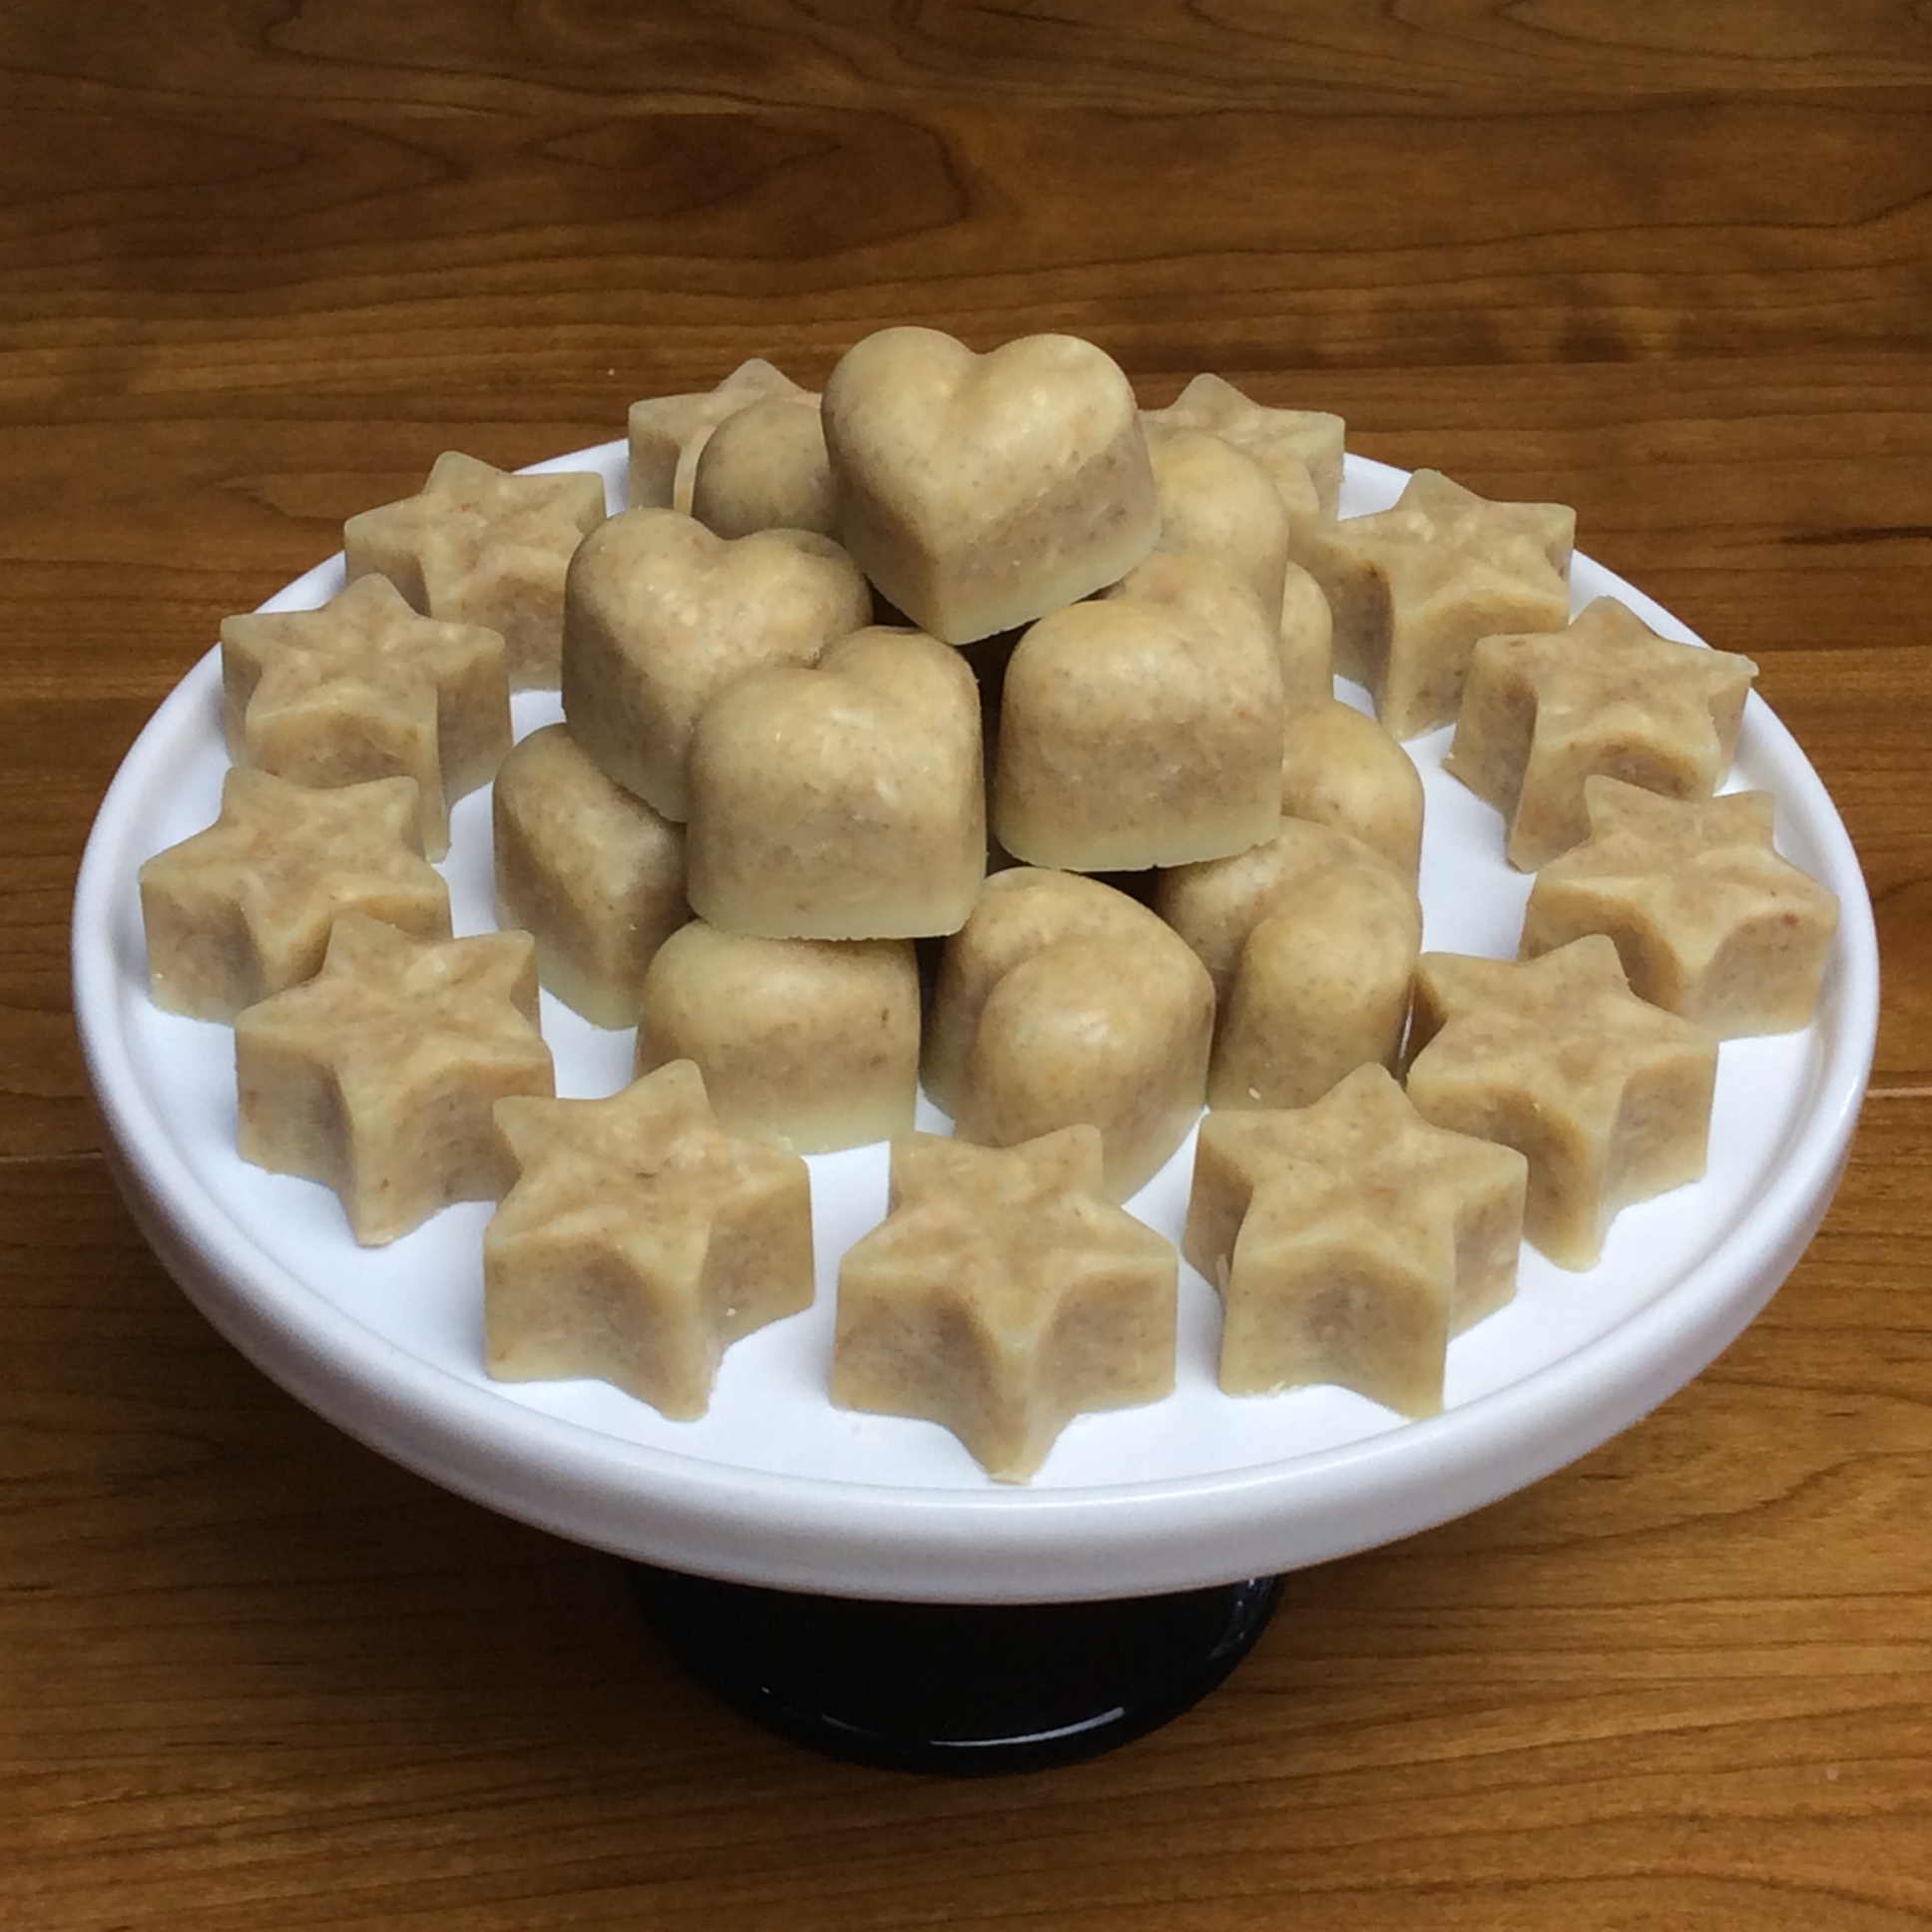
Coconut-White Chocolate Candy

This recipe is more “fat” than “sweet”, and the coconut makes it a great source of healthy fats.  It works well as a special occasion or holiday treat (provided you don’t eat too much when it’s not a holiday).  Finding the ingredients can be a bit difficult, especially the edible organic cocoa butter; look for it online.

Coconut-White Chocolate Candy

  • Servings: 9-12
  • Time: 10 minutes (prep); 2 hours to chill
  • Difficulty: Easy
  • Print

Ingredients

4 oz. edible organic cocoa butter
3 oz. creamed coconut (AKA coconut butter or coconut manna; “Artisana Organics” brand has a nice texture)
2 tsp. orange blossom honey
¼ Cup organic sugar or coconut sugar
5 -8 drops liquid stevia
1 Tbsp. vanilla powder (find in candy-making stores or online; extract might work, but it yields a less attractive color and texture)
1 ¼ cup unsweetened coconut flakes, toasted to a light caramel color
dash pink Himalayan salt, plus additional salt for top

Instructions

  1. Melt the cocoa butter and coconut cream concentrate in a double boiler or a ceramic bowl atop a saucepan with heated water in it.
  2. Stir in remaining ingredients, including a dash of salt.
  3. Prepare your silicone candy molds with a light dusting of finely ground pink Himalayan salt.  Or, alternatively, if using a glass 13 x 9” baking pan, lightly oil it with coconut oil, Salt will also be added to the top the candy.
  4. Carefully pour candy mixture into the pan or candy molds. Very lightly dust the top of the sheet with salt.
  5. Set pan or pan with silicone molds into the fridge or freezer to solidify.
  6. Allow to chill for one hour or more.
  7. When solid, unmold or cut into squares, place in an air-tight storage container, store in fridge.IMG_4504

August 24, 2015 by Sally K Norton

Radio Program: Gut Health, Inflammation, and Oxalate in Foods

Check this out. I was recently interviewed about Oxalates and Health by Sunny Gardener on Lightly On The Ground Radio on 97.3 WRIR, in Richmond VA. This show aired on Aug. 12, 2015.

Sunny and I discussed the back bone of all disease: inflammation.  We cover the connection between changes in the bacteria in our colons and increased susceptibility to inflammation.  We touched on oxalates in foods as a possible contributor to gut health deterioration and inflammatory illnesses.

https://sallyknorton.com/wp-content/uploads/2015/08/2015-08-12-skn-on-lightlyontheground.mp3


Thank you to WRIR’s Lightly On The Ground, produced in Richmond VA.

August 23, 2015 by Sally K Norton

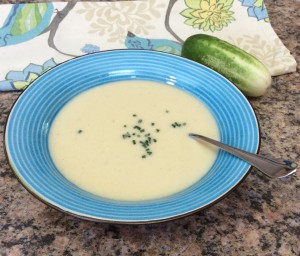
Cream of Cucumber Soup

Cream of Cucumber Soup

  • Servings: Makes 2 quarts (serves 8 as a first course, or 4 for lunch)
  • Time: 1 hour
  • Difficulty: Fairly Easy
  • Print

This simple summer soup has a delicate and sophisticated flavor and is easy to digest and mild enough for fussy eaters.  If you like cream of celery, you’ll love this soup. This is good hot or chilled; making it well suited for a picnic or work day lunch. This is an ideal use for those over-grown garden cucumbers.  For a touch of spring green color, retain about 10% of the peel on the cucumbers, if they are not waxed.

Ingredients

1½ lbs. organic cucumbers, peeled, seeded and diced
3-4 oz. diced onion (~ ½ onion) or ½ oz. chopped chives
4 T butter or ghee or part chicken fat saved from a roasted chicken
3½ cups rich homemade chicken broth (can use the pan juices from a roasted chicken)
1 tsp. Real salt (to taste)
white pepper (to taste)
1 C cream or 1 ½ cups milk or coconut milk
2 egg yolks (opt.)
¼ C chopped fresh chives (opt.)

Instructions

Sauté the cucumber and onion in butter or ghee for 10 minutes.

Add the chicken broth and simmer, covered, for 30 minutes.

Puree the soup; season with salt and pepper.  If using coconut milk, add it now.

Just before serving, add the cream or milk and egg yolks to hot soup that is off the heat. Do not heat the soup once the cream and egg yolks are added.

Garnish with chives and/or diced radish.

If eggs are not allowed, place a teaspoon raw butter on top of each serving before garnishing with chives.

Variation: Dill Soup. Add ½ C chopped fresh dill at the simmer stage.

August 20, 2015 by Sally K Norton

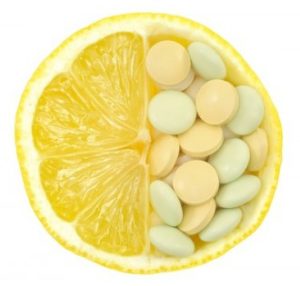
Taking Vitamin C? Try a Salad Instead.

If you are taking 500 mg or more vitamin C daily, there is something you need to know. Vitamin C (in excess) can become a toxin that can lead to kidney stones, arthritis, other pain conditions, and perhaps, compromised brain function.  For decades we have been told that vitamin C is good for us and may help prevent colds. But too much of a good thing can make trouble. (Research has not been able to confirm the theory that vitamin C supplements help to prevent colds unless you routinely engage in physically demanding work or endurance sports.) [Read more…]

July 22, 2015 by Sally K Norton

Chicken Liver Paté with Mushrooms

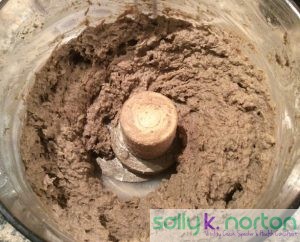
Pate in the food processor

This is a classic, all-purpose snack, party food, and travel companion.  Make it a day or more before serving. (I do like to eat some when fresh and slightly warm – right out of the food processor to the plate.)

Unlike most loaf-style paté, this will keep in the freezer without much damage to its texture.  I suggest you keep some on hand in the freezer at all times!

Chicken Liver Paté with Mushrooms

  • Servings: 10 as appetizer, 4 as lunch entrée
  • Time: 2-3 hours, plus 4 hours to chill
  • Difficulty: Medium
  • Print

Although this is a fairly easy dish, allow 2 to 3 hours for preparation, because the onions sweat slowly and the livers must cool before you purée them with the butter.  If you are in a hurry, you can increase the heat to reduce the sauté time.  Do not rush hot livers at the purée step, however.

Ingredients

1 C diced red salad onion or yellow onion
8 oz. fresh white button or crimini mushrooms, cleaned, dry, sliced, divided
5- 6 T ghee or butter, divided for sautéing
2 garlic cloves, mashed
¼ tsp. dried yellow mustard powder
½ tsp. dried dill
½ tsp. dried rosemary powder
½ C white or red wine
½ tsp. sea salt
1 lb. chicken livers

1 T fresh lemon juice (or use lemon verbena and 2 tsp. white wine vinegar)
4 T butter

Instructions

  1. Melt 2 T ghee or butter in large skillet. When hot, add the onion. Stir until the onions begin to brown.
  2. Turn the heat to very low and allow the onions to sweat and caramelize for 20 minutes.
  3. Turn up the heat, push the onions to one side, add 2 T butter to the same skillet. When butter foams, add about 2/3 of the mushroom slices and brown the mushrooms on both sides. Move them to one side.
  4. Lightly brown the remaining mushrooms. Stir the onions and mushrooms together, turn the heat down to low, cook for 5 minutes more.
  5. Add the garlic, mustard, and herbs. Add the wine to deglaze the pan. Scrape up the flavorful bits as the liquid reduces for few minutes. Remove the seasoned vegetables from the skillet into a large covered bowl.
  6. Add 1 – 2 T more ghee or butter to the skillet. When hot, add the chicken livers, sprinkle the salt over them and cook them about 4 minutes on each side, until browned and slightly pink on the inside. Do not overcook.
  7. Transfer to the bowl with the onions. Allow the livers to cool to room temperature – this is an essential step.
  8. Use a food processor fitted with a metal blade to process the mushrooms, onions, herbs, chicken livers, lemon juice, and butter to a mostly smooth paste.
  9. Place in mold or crock, or small containers such as 4 ounce mason jars, and chill completely. This is best if made at least a day ahead. Freeze any portion that will not be used up in 5 days.
  10. Chill at least overnight, but preferably for a day or two.  Soften the paté at room temperature for 30 minutes before serving.
  11. Serve at room temperature, or slightly chilled with cut up raw vegetables (lettuce ribs, radishes, cucumber slices).

Optionally garnish with crispy fried sage leaves. Feel free to top with melted clarified butter before chilling. This makes it look nice.

July 22, 2015 by Sally K Norton

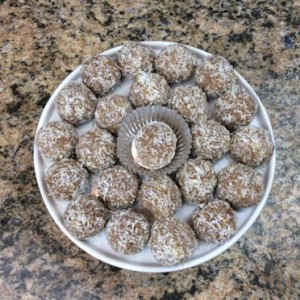
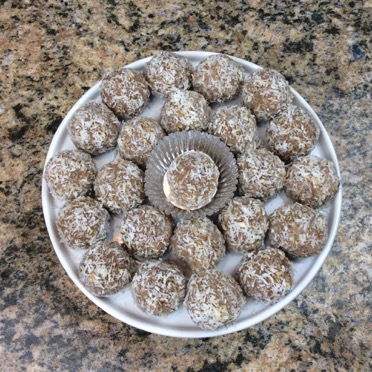
Coconut Truffles with Watermelon Seeds and Pineapple

Coconut-TrufflesHere is a fun way to add a bit of needed healthy fats to your diet, and treat yourself in the process. The truffles have just a hint of sweet. They must be chilled. These can be made into “egg” shapes for spring time.

Coconut Truffles with Watermelon Seeds and Pineapple

  • Servings: 10; 20-25 truffles
  • Time: 25 minutes
  • Difficulty: Medium
  • Print

Estimated oxalate content is 1.5 mg total oxalate per truffle (3 mg/ serving)

Ingredients

3/4 C raw, sprouted watermelon seeds with salt (3 oz.) (Go Raw brand)
1 C unsweetened finely shredded coconut, lightly toasted, divided (3 oz.)
1 oz. unsweetened dried pineapple, chopped (cut with scissors)
⅓ C cold butter or ½ C cream cheese
⅓ C coconut butter (Coconut manna) (3 oz.)
2 Tbls. Date Lady Brand Date Caramel Sauce
or 1½ T dextrose
¼ tsp. almond extract (opt.)

Instructions

  1. Set aside on third of the toasted coconut in a wide shallow bowl for rolling, later.
  2. Place the watermelon seeds in food processor with metal blade. Run the machine until the seeds become pasty.
  3. Add the chopped dried pineapple. Pulse the pineapple and seeds to combine and reduce the pineapple to very fine bits.
  4. Add the remaining ingredients, except for the coconut, run the food processor until everything is well combined.
  5. Add 2/3 of the toasted coconut flakes, pulse to mix. Remove truffle dough to a covered bowl and place in the refrigerator for 15 – 20 minutes or in the freezer for about 5 minutes.
  6. Use a small cookie baller to make balls (1 tsp. of batter each) Roll in the coconut.
  7. Refrigerate to set them and let the flavors mingle. These are best if they are made a few days in advance.
  8. Serve at a cool temperature. Don’t leave them in a hot car, or they will melt.
  9. They will keep for about 10 days in the refrigerator, or for a year in the freezer if tightly packed in an air-tight container.

  • « Previous Page
  • 1
  • …
  • 4
  • 5
  • 6
  • 7
  • 8
  • 9
  • Next Page »

Search on SallyKNorton.com

Shopping Cart

Number of items in cart: 0

  • Your cart is empty.
  • Total: $0.00
  • Checkout
Click to sign up for email list

Upcoming Events

  • Group Meeting and Presentation

    August 12, 2026 @ 1:00 pm - 3:00 pm
    US Eastern Time
    See more details

  • Group Meeting and Presentation

    August 25, 2026 @ 10:00 am - 12:00 pm
    US Eastern Time
    See more details

  • Carnivore Live Conference, Adelaide, Australia

    September 12, 2026
    US Eastern Time
    See more details

  • Group Meeting and Presentation

    September 18, 2026 @ 9:00 am - 11:00 am
    US Eastern Time
    See more details

Connect

  • Home
  • About
  • Shop
  • Recipes
  • Support
  • Blog
  • Contact
  • Table of Contents
  • Privacy Policy

Visit Sally’s Other Sites

  • YouTube
  • LinkedIn
  • Facebook
  • Instagram

Copyright © 2026 — Sally K. Norton • All rights reserved.

Loading Comments...