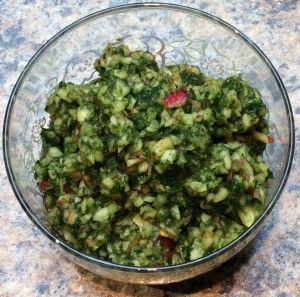
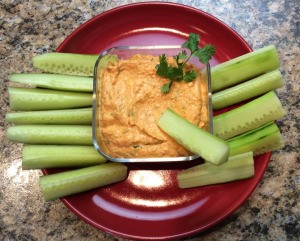
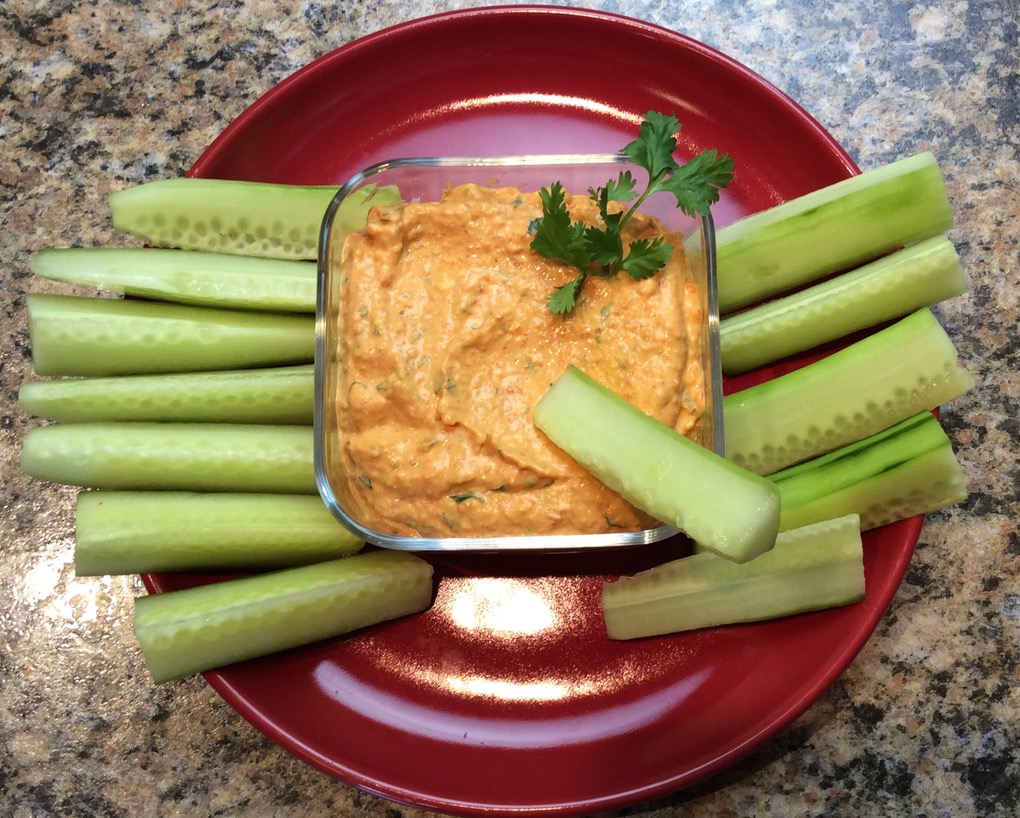
This sauce is wonderful with grilled roasted salmon, chicken, or lamb. Also use as a dip.
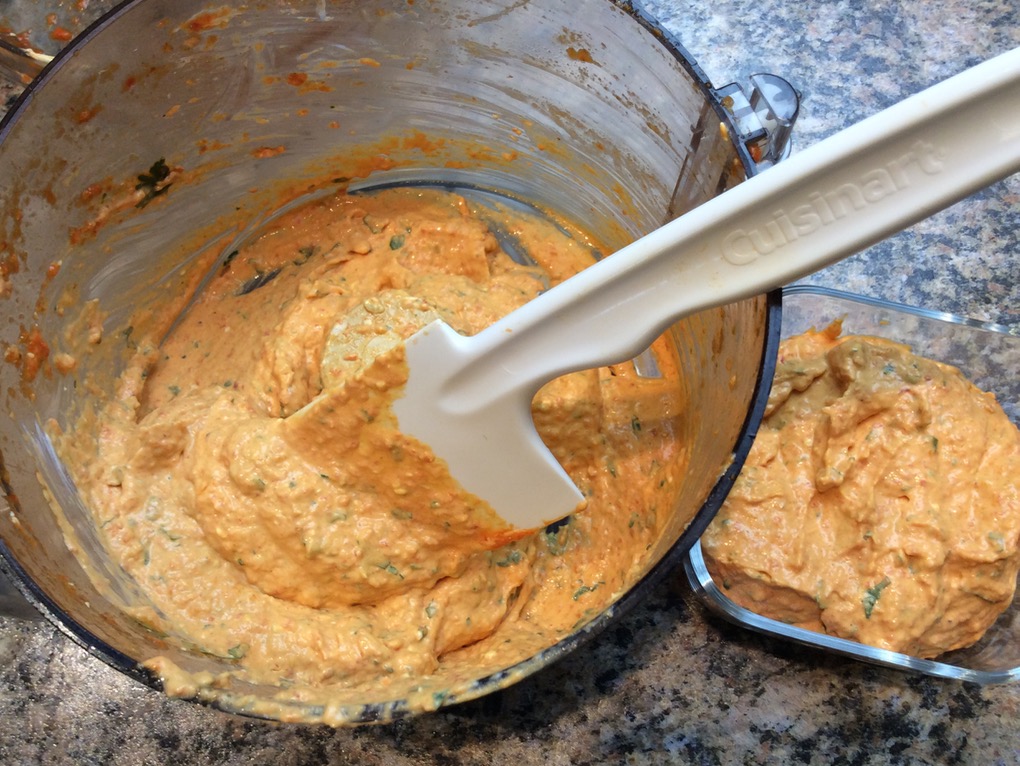
Green Velvet Cilantro Sauce
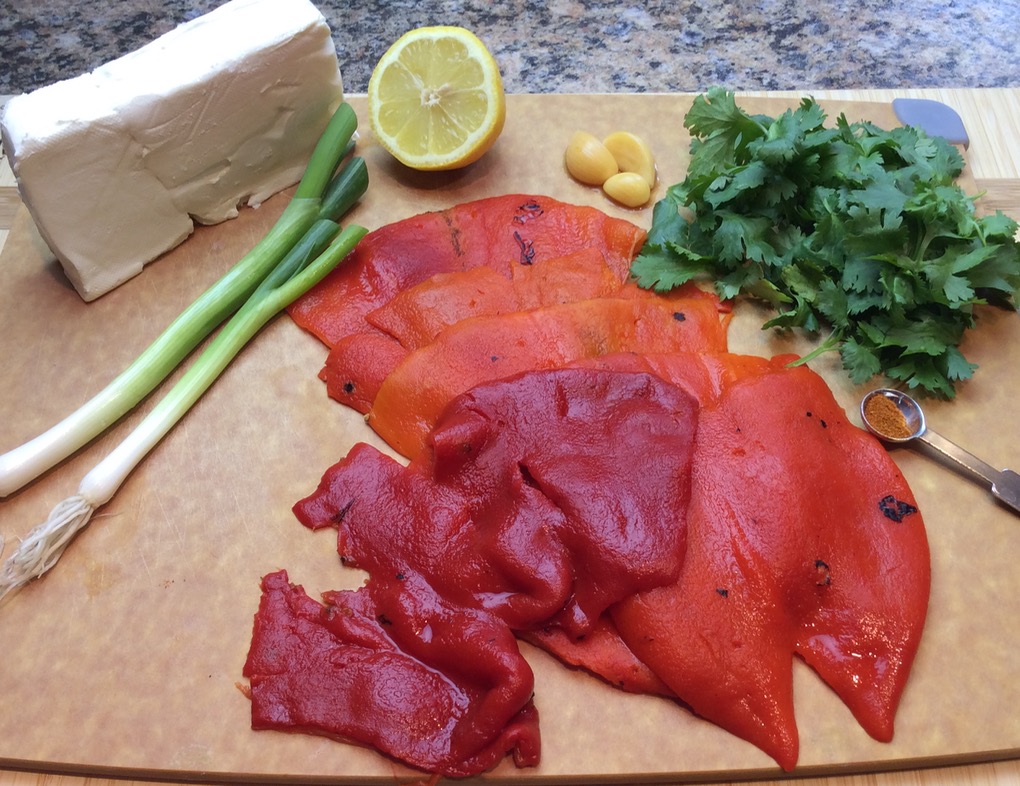
Ingredients
1 1-oz. piece ginger, peeled and finely chopped
1 3-oz. bunch cilantro, lower stems removed (1.7 oz. leaves)
2 cloves garlic, peeled and crushed
1 C coconut milk
1 T Fish Sauce
1/8 tsp. white pepper
Pinch ground allspice
1 T lime juice (one half lime)
Instructions
- Place all the ingredients in a blender and process until smooth. Chill.