The public is unaware of many problems in how science is conducted and the ramifications for patient health.
For example, poor handling and significant time lapse before pathologists see the fragile and perishable tissues they examine can yield unreliable, meaningless data. Richard Harris discusses such problems in modern biomedical science in a new book, Rigor Mortis: How Sloppy Science Creates Worthless Cures, Crushes Hope, and Wastes Billions. The book is long overdue! It is certainly an important topic in need of some light, and I’m looking forward to reading it. Thanks to Richard Harris for tackling this massive problem!
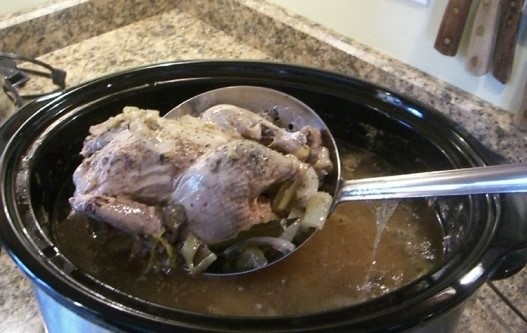
In a book excerpt on the NPR site, Harris describes how researchers finally revealed one of the hidden problems in pathology. While evaluating a breast cancer test, researchers in a lab at the University of Rochester let breast tissue biopsy samples sit out for an hour or two before testing them. They didn’t realize that at room temperature, the sample decays! Folks: dead tissues decay, and decay changes what a pathologist can detect. Harris writes: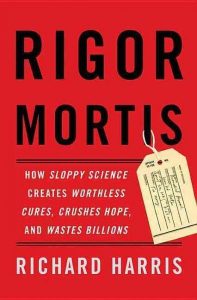
“And that was enough to degrade the sample and turn a positive result into a negative one. The molecule detected by the HER2 test breaks down at room temperature. “You can have the best test in the world and still get the wrong answer if you bugger up what you are testing,” Compton said.”
Oxalate Detection is a Problem for These Same Reasons Too
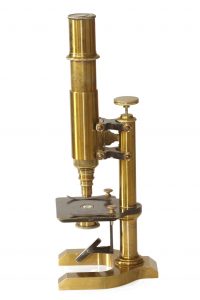
This problem of tissue degeneration is certainly true for oxalate crystals. These crystals are known to disappear from tissue samples within 2 hours of death, especially from the thyroid gland. Surgeons and their assistants lack training in the best methods for preserving biopsy samples and do not prioritize a speedy passage to the microscope. These processes are not priorities for biomedical institutions. Science and the public both suffer as a result.
I will write more soon about problems in tissue sampling and examination, focusing on overlooked oxalate deposits. Unseen due to normal but faulty biomedical procedures, oxalate deposits in human tissues are more common than believed by researchers.
Link to NPR book excerpt: